I just realized we missed the anniversary of our 1st post in July. Hairdo How-to is three years old. Since I missed the stats, I'll just put them from today. So far we have had 354,741 all time page views. Our viewers' favorite post is still the Waterfall/Fairytale/Fountain braid post, now with 9,053 views. We have 89 members. This is our 186th post, and this year we've seen a huge increase in the number of viewers looking on with mobile devices rather than computers!
Belle has done another ten inch hair donation, this time to Pantene Beautiful Lengths. I gave an eight inch donation myself. Pantene will take a minimum of 8 inches, and Locks of Love takes a minimum of 10 inches. Belle's hair is now short! She has an a-line bob at the middle of her neck. It's so cute and easy! I haven't been styling her hair much since I've been busy putting my house back in order after the flood. It's nice to have a low-maintenance length haircut.

A (mostly girls' hairstyles) blog created for those who want to learn how to style hair at home, from beginner basics to fancy schmancy.
Wednesday, September 18, 2013
Thursday, September 12, 2013
Not As Complicated As It Looks Braid


Wednesday, September 4, 2013
Hot Rollers
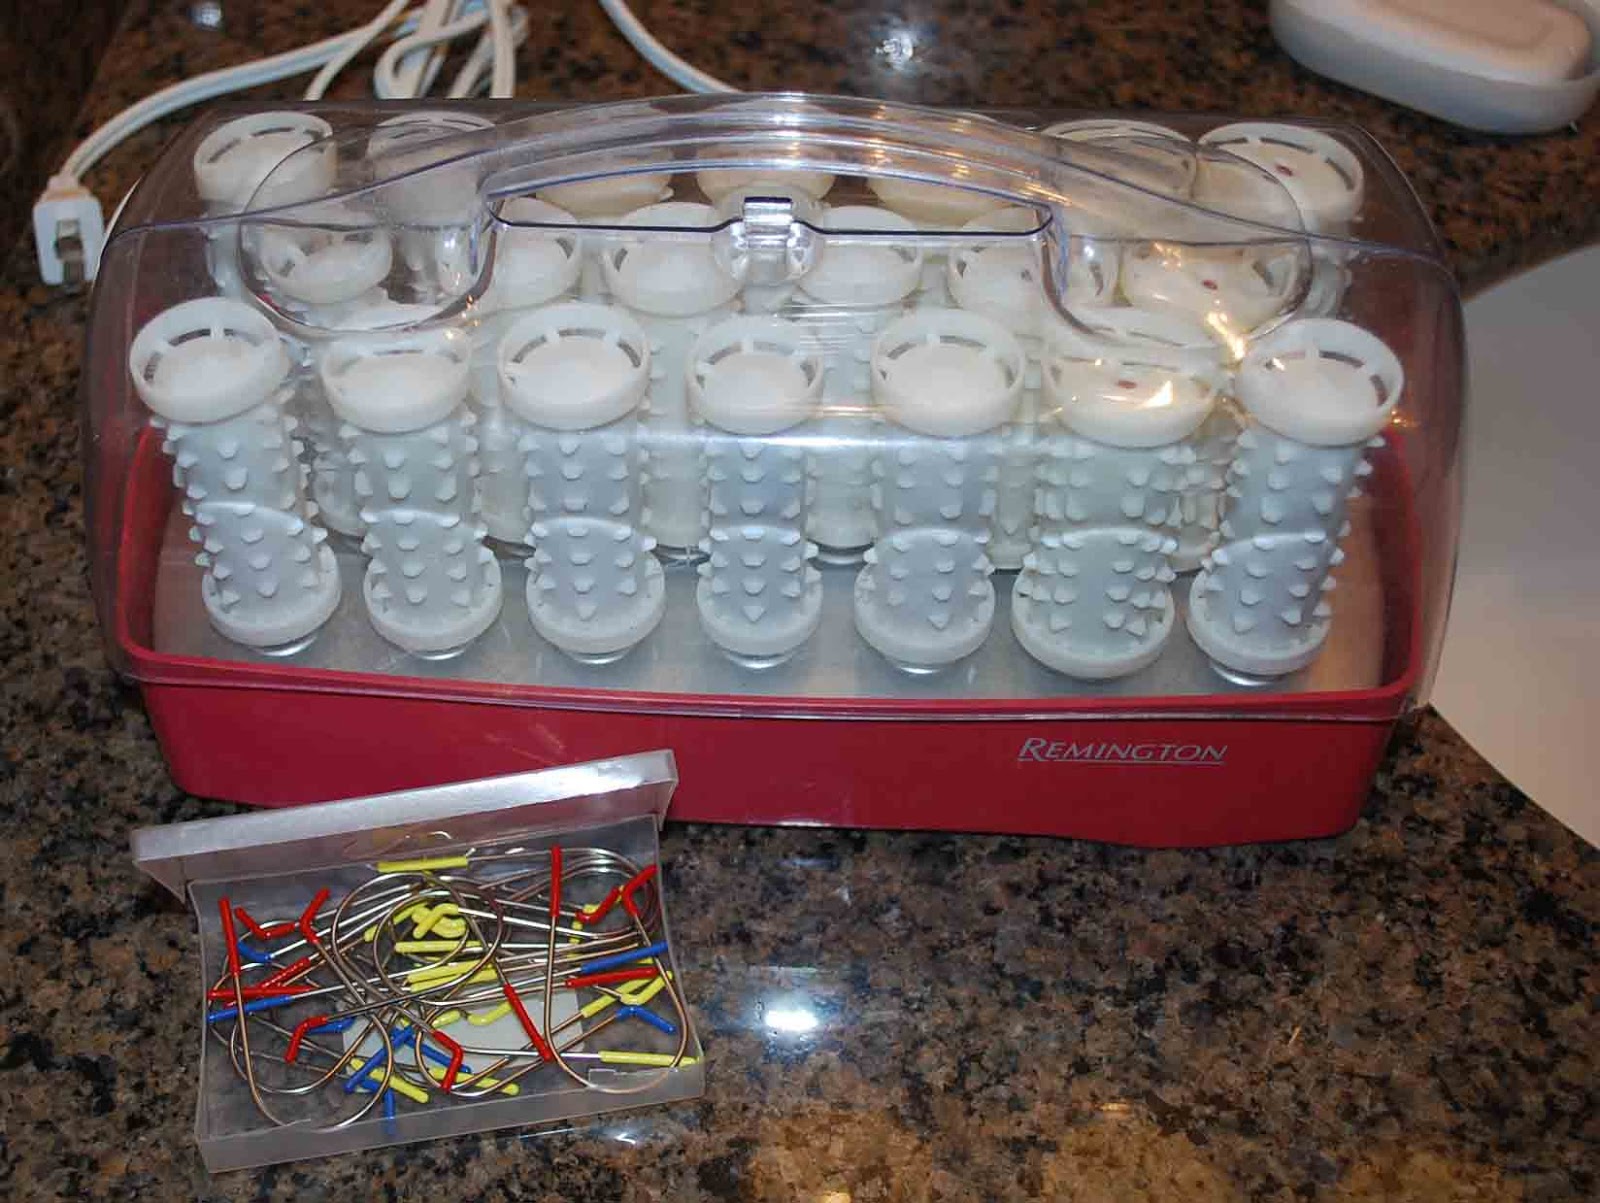
I have had these hot rollers for a really long time. I use them only occasionally. We tried them on Belle's hair quite a while ago. She didn't like them because they were too hot for her skin. The curls were cute, and lasted about as long as curling iron curls, but not as long as slept-in curls. I think they are faster to put in that curling iron curls.

I wear gloves when I use the rollers to protect my hands from getting burned. They don't sizzle and blister like an iron, but they feel too hot to handle if you touch a wrong spot. This set has a red dot on the fat rollers that turns brown when they are heated through. Use the fattest rollers for the shorter hair and the thinner rollers for the longer hair. Roll up from the ends, and then put a clip upwards around the middle of the roll. Start at the top and work your way back.

Let them stay in until the hair feels cool, then take them out, starting at the bottom.

They make cute soft and wide curls.
Home Again
We are home again! They aren't yet finished with all the work, but it's completed enough to live here. It's good to be home, even if it is cluttered with moving boxes.
Thursday, June 20, 2013
House Flood
We just got back from our vacation yesterday to discover that our house was flooded while we were gone. The upstairs toilet broke and let water run all over. I will probably not be posting hairstyles for a bit while we get our house rebuilt. We could use a few extra prayers. Now we have learned how important it is to turn the water off when you go away, and not just in the winter! Some wisdom comes at a high price.
Thursday, May 23, 2013
Tapering Braid

(I'm experimenting with some new software that came with my camera. I doesn't do much, so I need to keep searching for that old disk... This image is huge, and I can't put my blog stamp on it.)
Friday, May 17, 2013
New Computer
My new computer is awesome, but it doesn't have all the software yet to do picture and video edits. I will post something again as soon as I am able!
Thursday, April 18, 2013
Rolled Sock Bun

I have posted sock bun tutorials before. Click on the pictures below if you want instructions.


For a sock bun form, get an old sock you don't need anymore. The closer to the hair color the better in case any of it shows out. Cut out the toe.


Put the hair into a ponytail. Insert the ponytail through the middle of the sock. Pull it up to the head. Straighten the tail hair, and hold it so it is tight together like a stick. (I didn't do this in the picture but figured it out later on.) Bring the sock down to where the shortest strands of hair are.


Here is a video:
Tuesday, April 16, 2013
Sideways Dutch Braid into Braided Bun
This is a variation on a post I already wrote. This post seems to be a favorite. The only difference is the braid is a dutch braid instead of a french braid.

Monday, April 8, 2013
Guest Blogger Invitation
This is an invitation to contribute to our blog.
If you have any great ideas you want to share, send me an email, leave a comment, or post on our Facebook page. We may choose your photos and instructions to post on our blog as a guest blogger!
If you have any great ideas you want to share, send me an email, leave a comment, or post on our Facebook page. We may choose your photos and instructions to post on our blog as a guest blogger!
Monday, April 1, 2013
Bad Hair Day
What can you do when your hair just won't cooperate? Wear a hood!
 Happy April Fool's Day.
Wednesday, March 27, 2013
Happy Easter!
Happy Easter everyone! I hope you are all enjoying the spring as much as I am.
For inspiration for more Easter hairstyles, take a look at the side-bar links to hairstyles for Easter, up-dos, and special occasions, or look in our gallery.
No tutorial today--our family is so busy!
For inspiration for more Easter hairstyles, take a look at the side-bar links to hairstyles for Easter, up-dos, and special occasions, or look in our gallery.
No tutorial today--our family is so busy!
Thursday, March 14, 2013
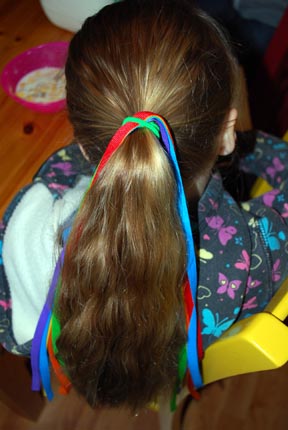
Rainbow Ponytail

To begin, put the hair in a ponytail. Measure a piece of ribbon off the spool the length of the ponytail, add a little bit more to account for wrapping, and then double it. Cut the ribbon. Cut all the other ribbon colors the same length. Insert the ribbons stacked in rainbow order (red, orange, yellow, green, blue, purple) into one of the loops of the hairband, and center the ribbon.


If you have success with this hairstyle or have any tweaks or improvements, I invite you share your photos on our facebook page!
Don't forget to check the link at the sidebar for more St. Patrick's Day hairstyles.
Monday, March 4, 2013
Elegant French Braid Updo


Thursday, February 28, 2013
Crazy Hair Day: Rag Rug

This hairstyle is a half dutch cornrow spiraling all around the head. Start at the crown with a small section, begin braiding around. Since I was just playing, I used my fingers to draw up new sections of hair, but you could make it look a little neater if you use a comb. There is nothing you can do about the ends of the hair sticking out. Once the hair you began braiding with runs out of length, you'll have a new piece of hair running out with every plait til the end. Braid down the end when you run out of hair on the scalp to add in. Wrap it around, tuck in the ends, and bobby pin it in place. Or just leave it hanging for more craziness.
I call this the rag rug because it reminds me of those braided oval or circular rugs.

Thursday, February 21, 2013
Milkmaid Braids
I've already posted a different version of the milkmaid braids here, but I wanted to do this one that's a little different for shorter hair.
 As you can see in the picture, you don't cross the braids over the back like the other post, but braid above the ears and pull them straight up. I fastened off the end of the braid with a clear elastic, and then added another clear elastic down from the first to keep the ends of the tail from fraying out as much.
You have to draw the braids up together and then use bobby pins to hide each tail under the other braid. It helps if your braids are loose and wide so you can spread them out flatter and make more room for the tails to hide.
 You can see the elastic just a bit here. It would help if her hair were maybe an inch longer.
You have to draw the braids up together and then use bobby pins to hide each tail under the other braid. It helps if your braids are loose and wide so you can spread them out flatter and make more room for the tails to hide.
Friday, February 8, 2013
Braided Heart Ponytail


Begin with a front piggy. Put the rest of the hair in a low pony, being sure to leave the tail of the top one out.


Subscribe to:
Comments (Atom)